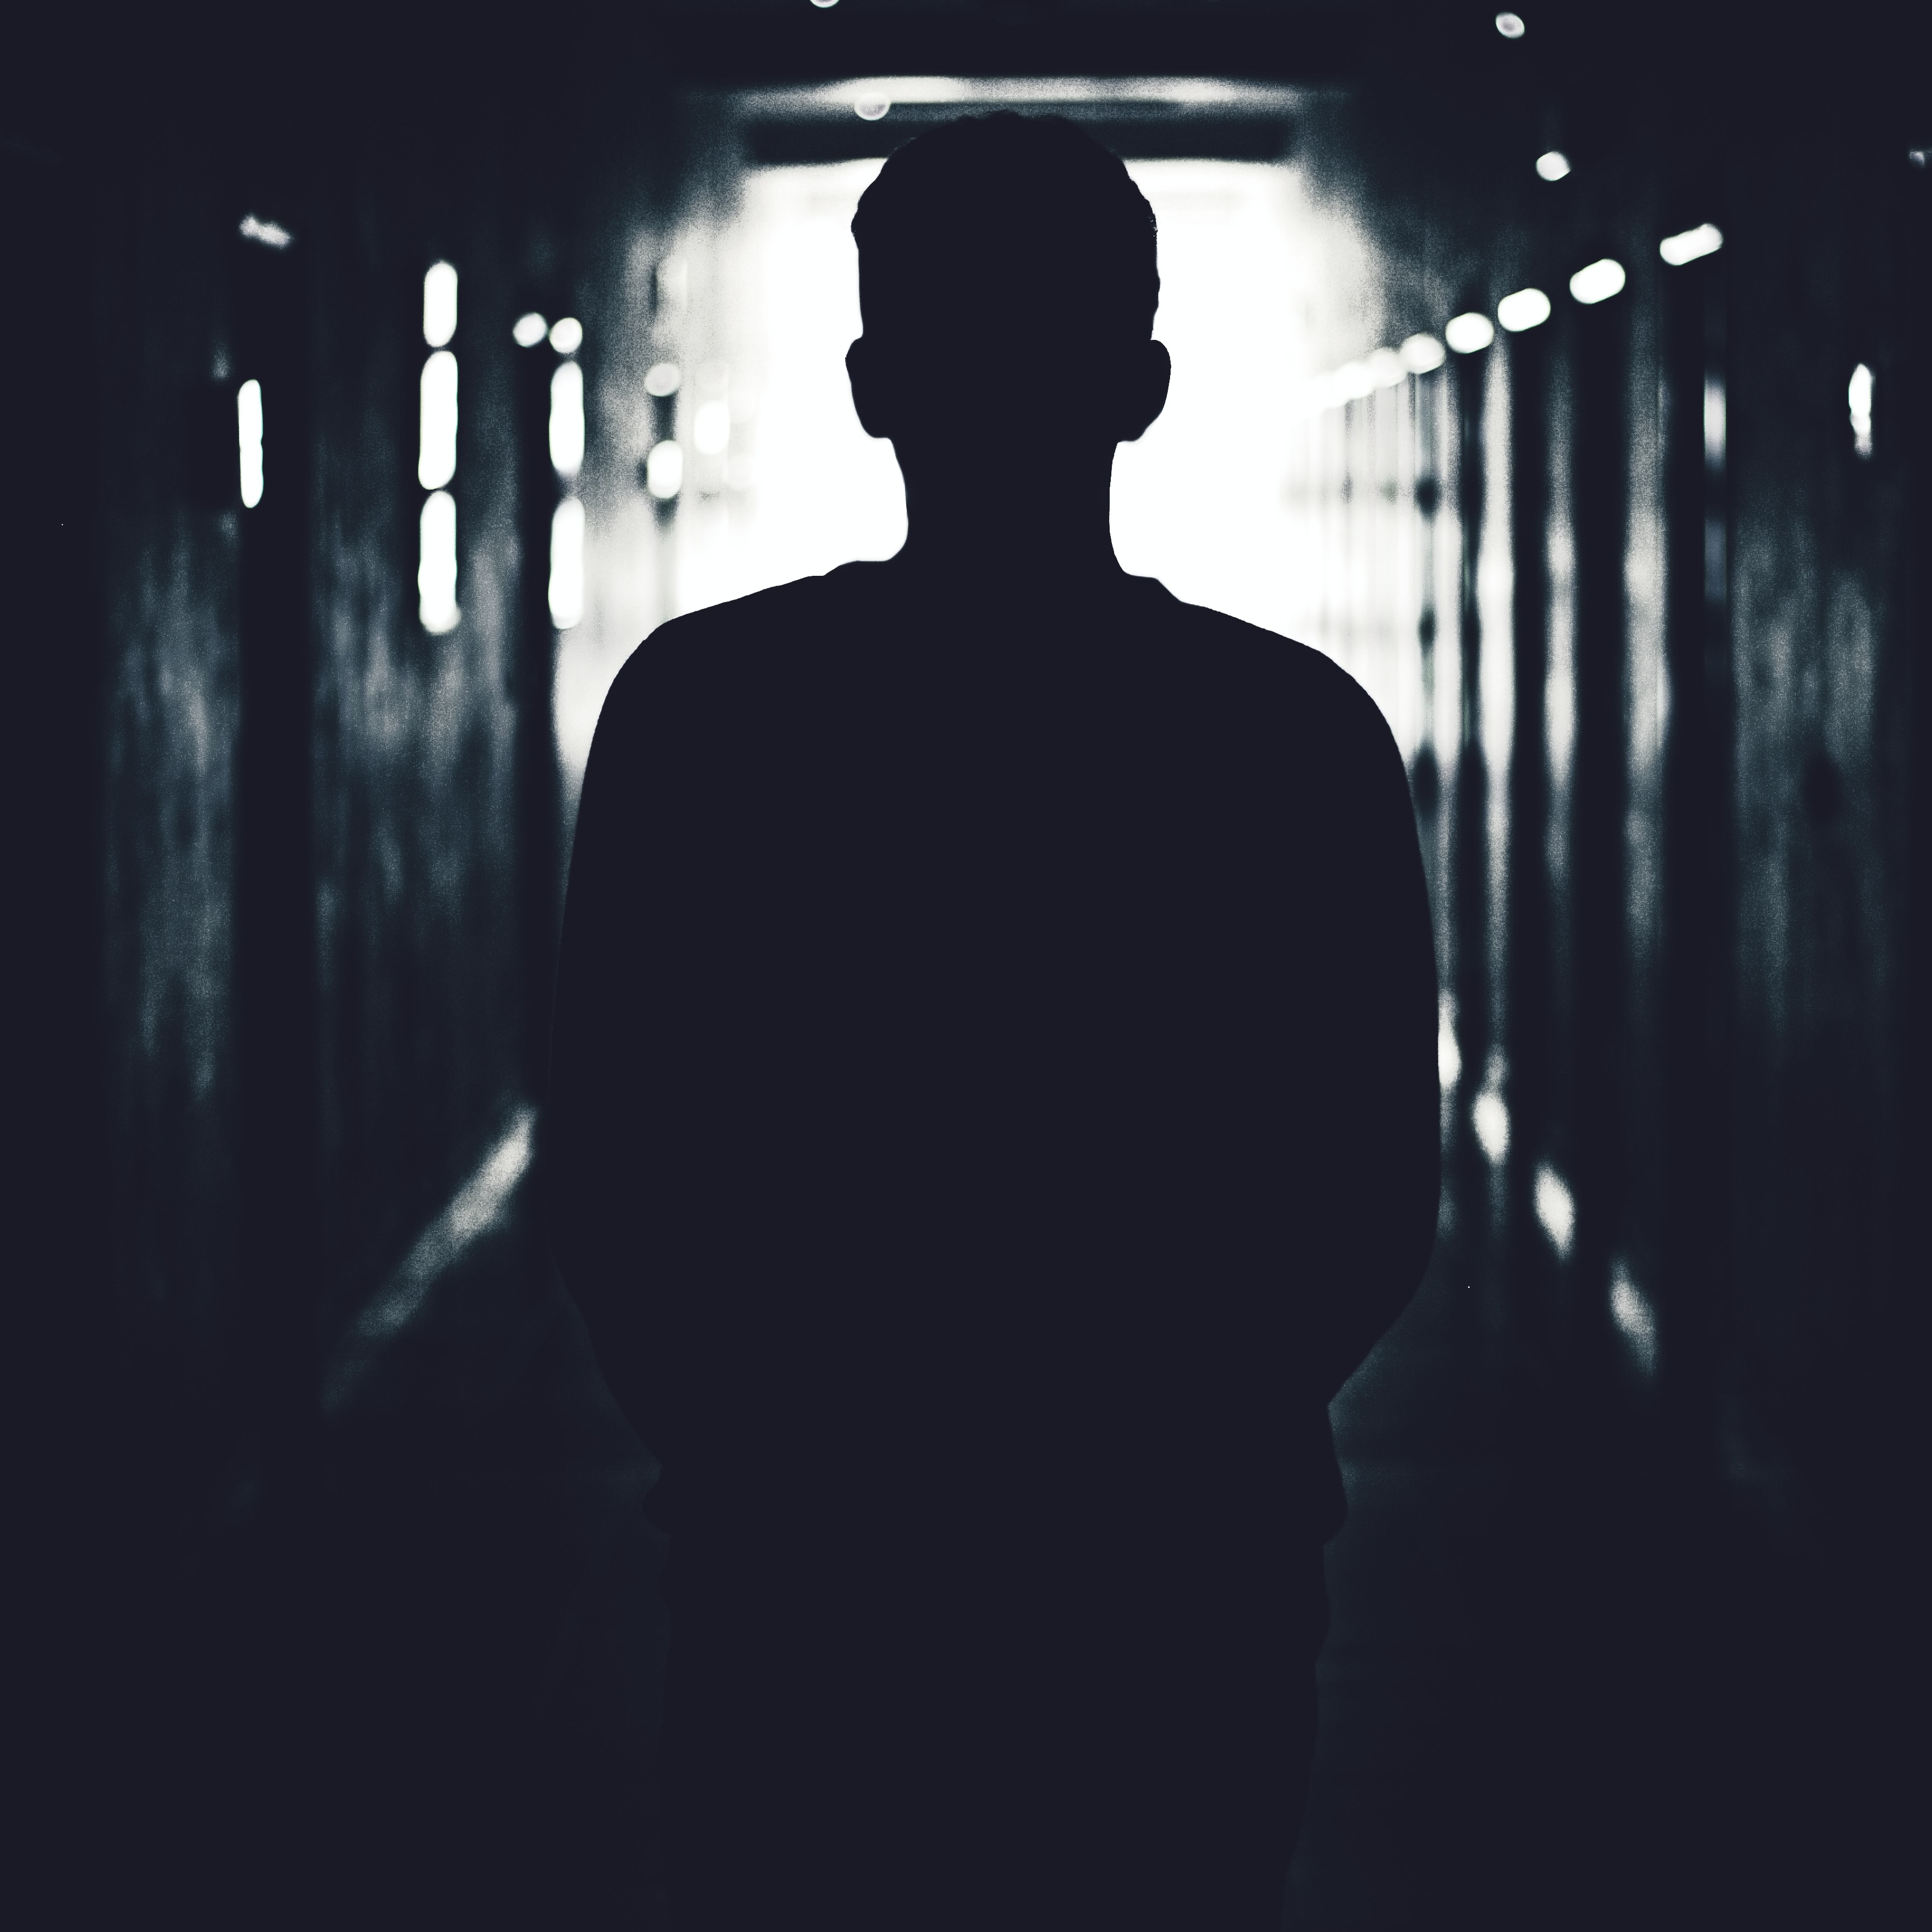
This project may be completed by the following students:
1st Year Media Arts Majors.
2nd Year Media Arts Majors.
3rd Year Media Arts Majors.
Technology Concepts Students.
Directions
Pre-Production
It is strongly suggested that you complete the Photo Presentation project first.
The Photo Presentation project is about showcasing selected photos, a thing you will have to do for this project. If you have to do it anyway, you might as well get a grade for it.
OVERVIEW:
A silhouette can be created through a variety of means, the easiest of which involves a combination of knowing the properties of light and fooling the camera. (source for image to the right)
Most digital cameras will attempt to balance out the lights and darks in a photo in order to make it more pleasing to the eye. A side effect of this is that when you have a bright light source in the shot, the dark areas will often become much darker.
Color is perceived because most objects absorb some part of the light spectrum and reflect others.
If everything is reflected, we see it as white.
A red shirt is seen as red because it absorbed most light except for the red portion of the spectrum.
Something perceived as black either absorbed most/all of the light hitting it OR had a negligible amount of light hit it to begin with.
To properly make use of the above information, put your subject (the person, place, or thing you wish to be your focal point) in front of a bright light source before taking the picture.
This works best if you do not have other light sources in the area, which is why so many silhouettes found online are outdoor pictures taken at sunset (or dawn) or shots taken in a studio where all the lights can be controlled.
Production
Armed with the information covered in the Pre-Production section, take a significant number of photos of a wide variety of subjects and locations.
Windows and glass doors are ideal for this, particularly on sunny days.
If your classroom has access to studio lighting, having all of it aimed at your background may also work well for this.
These are not the only possible setups for making silhouettes.
IMPORTANT: If you have received permission to use your phone, check your settings to make sure it's saving images as JPG files, not HEIC files! HEIC has some benefits, but it is a proprietary format that you may not be able to display properly for critiques!
This is a 2 week assignment. Do not attempt to take all of these in 30 minutes as you will severely limit yourself.
Post-Production
Review your photos.
Remove the photos that do not match the rubric's requirements from consideration. This will make the next step easier. (They might still be great photos, but there's more to this assignment than just handing in nice looking pictures.)
For instances where you have multiple shots of the same setting and/or subject, select the one you think looks the best.
Repeat this process until you have at least 10 distinctly different photos that match the rubric requirements.
If you have less than 10 distinctly different photos that match the rubric requirements, shoot more photos that do not include the same settings/subjects you previously used.
As the rubric does not allow editing the images for this assignment, upload your 10 selected images and hand them in.
Rubric
25% Minimum of 10 photos submitted as unedited .jpg image files.
25% Each photo has a UNIQUE composition. (Do not take 10 photos of the same thing or person and call it a day!)
25% Photos include a silhouette created by having a bright light source behind the subject.
25% Photos have not been cropped or otherwise edited.
(If your photos are square, it will be assumed you cropped them.)